


)
)
How Can You Set Up Chrome Remote Desktop?
Setting up Chrome Remote Desktop correctly is essential to ensure a secure and efficient remote access experience. Proper configuration involves meeting system requirements, installing necessary software, and performing connectivity tests.
System Requirements and Installation
Supported Operating Systems
Ensure that both the host and client machines run on supported operating systems. Chrome Remote Desktop is compatible with Windows, Mac OS, Linux, and Chrome OS. It's crucial to verify that the latest updates and patches are applied to maintain compatibility and security.
Chrome Extension
Navigate to the Chrome Web Store and search for the Chrome Remote Desktop extension. Install this extension by clicking 'Add to Chrome’ and then follow the on-screen instructions to integrate it into your browser. This extension acts as a bridge for your remote sessions.
Google Account
A valid Google account is necessary to facilitate the synchronization of settings and preferences across devices. Log into your Google account during the initial setup to ensure that your configurations are saved and retrievable on any device you use.
Configuring Remote Access
Initial Setup
Open the Chrome Remote Desktop web app via the URL 'remotedesktop.google.com'. Click on the 'Set up remote access' option, which will prompt the download of the Chrome Remote Desktop host software if it's not already installed.
Name Your Computer
Assign a unique name to your computer during the setup. This name will help you easily identify your machine in a list of available devices, especially if you manage multiple computers.
Security PIN
Create a strong six-digit PIN that you'll use to access your computer remotely. This PIN adds a layer of security, preventing unauthorised access to your machine.
Connectivity Testing
Test Connection
After setup, attempt to connect to the host machine from a different device to ensure the setup was successful. This test will confirm that the remote access capabilities are functioning as expected.
Troubleshoot Issues
If the connection fails, check your internet connectivity and ensure that your firewall settings or network configurations are not blocking the connection. Adjust settings as necessary to facilitate a smooth connection.
Properly setting up Chrome Remote Desktop is the foundation for a secure and effective remote working environment. Ensuring that each step is carefully followed will minimise connectivity issues and safeguard your remote sessions.
How Can You Transfer Files Using Chrome Remote Desktop?
While Chrome Remote Desktop excels in providing remote access it lacks a built-in feature for direct file transfer. To navigate this limitation, two effective methods are employed: clipboard synchronization for smaller data, and cloud services like Google Drive for larger files.
Method 1: Clipboard Synchronisation
Clipboard synchronization allows the transfer of small files or text snippets between devices during a remote session.
Enabling Clipboard Sync
To use clipboard synchronization:
- Access the Chrome Remote Desktop interface.
- In the remote session toolbar, locate the clipboard sync feature.
- Ensure this option is enabled, allowing data to be shared between devices.
Using Clipboard Sync
Once clipboard sync is active, you can:
- Use standard Ctrl+C and Ctrl+V shortcuts to copy and paste data.
- This method is ideal for small files like text documents or images that are not size-intensive.
Method 2: Google Drive
For transferring larger files, utilising Google Drive provides a seamless and efficient solution.
Setting Up Google Drive
To integrate Google Drive for file transfers:
- Ensure that Google Drive is installed and set up on both the host and remote devices.
- Log into the same Google account on both devices to synchronise your storage.
Upload Files
- From the host device, upload the files you wish to transfer to your Google Drive account.
- Ensure files are properly uploaded and appear in your Drive before attempting to access them from another device.
Accessing Files Remotely
To access and download your files on a remote device:
- Open Google Drive on the remote device.
- Navigate to the folder where the files were uploaded.
- Download the necessary files to the local storage of the remote device.
This method not only circumvents the direct transfer limitations of Chrome Remote Desktop but also provides added security and accessibility from anywhere, not just from devices where remote sessions are active.
What Are The Alternative File Transfer Methods?
For IT environments requiring robust and secure file transfer capabilities, exploring professional alternatives to Chrome Remote Desktop can significantly enhance operational efficiency and security.
Third-party Software Solutions
Overview of AnyDesk and TeamViewer
AnyDesk and TeamViewer are widely recognized for their advanced file transfer features. These applications are designed to handle large file transfers quickly and securely, catering to the demanding needs of IT professionals.
Dedicated File Transfer Features
- AnyDesk: Offers drag-and-drop functionality, allowing files to be transferred seamlessly between devices within the remote access window.
- TeamViewer: Supports both drag-and-drop and file box transfer methods, which can handle multiple files or folders simultaneously for batch processing.
Enhanced Security
Both platforms employ robust encryption protocols (such as AES 256-bit and RSA 2048-bit encryption), ensuring that all transferred data remains secure against interception or unauthorized access.
Advantages Over Chrome Remote Desktop
While Chrome Remote Desktop facilitates remote access, AnyDesk and TeamViewer provide superior file transfer capabilities with additional features like transfer queues, pause/resume options, and real-time progress monitoring, which are essential for IT operations.
Network Shares
Setup Network Shares
Setting up network shares involves configuring shared folders that are accessible by remote devices connected to the same network. This setup is crucial for environments where multiple users need access to the same files.
- Windows Sharing: Use the Network and Sharing Centre to enable file and printer sharing and set permissions for different user levels.
- Linux and Mac OS: Utilize Samba or NFS for sharing within Linux environments or use built-in sharing options in Mac OS.
Security Protocols
Implementing appropriate security measures is critical to protect sensitive data accessible through network shares.
- Access Controls: Assign user permissions based on roles, ensuring only authorised personnel can access specific files.
- Network Security: Use VPNs or VLANs to isolate network shares from public access and employ firewalls to monitor and control incoming and outgoing network traffic.
By employing these alternative methods, businesses can achieve higher performance and security standards for file transfer tasks, making them well-suited for professional IT environments where reliability and data protection are paramount.
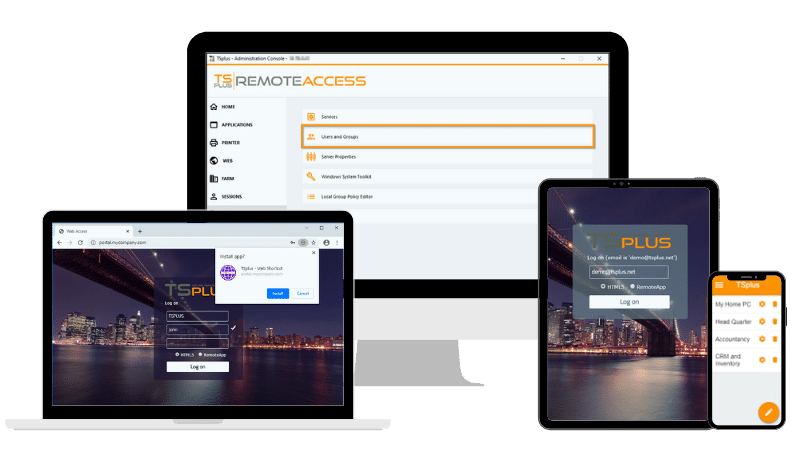
TSplus Solution
TSplus offers a solution, Remote Access designed to complement and enhance the remote desktop and file transfer functionalities. With TSplus, businesses can benefit from high-performance file transfers, comprehensive security measures, and robust system compatibility.
Explore our offerings at tsplus.net to see how TSplus can transform your remote access capabilities.
Conclusion
While Chrome Remote Desktop provides a functional solution for remote access, its limitations in direct file transfer capabilities necessitate additional tools and methods. Implementing clipboard synchronization and Google Drive can address small to medium-sized transfer needs, whereas more robust alternatives like third-party software and network shares cater to more extensive and security-sensitive requirements, enhancing the overall efficiency and security of IT operations.
TSplus Remote Access Free Trial
Ultimate Citrix/RDS alternative for desktop/app access. Secure, cost-effective, on-premises/cloud
)
)
)