


)
)
TSplus Remote Access Free Trial
Ultimate Citrix/RDS alternative for desktop/app access. Secure, cost-effective, on-premises/cloud
Using Finder
Connecting to a server using Finder is one of the most straightforward methods available on macOS. Finder offers an intuitive interface for accessing network resources, making it an ideal choice for both novice and experienced users.
Step 1: Open Finder
To start, open the Finder application by clicking its icon in the dock. Finder is the default file manager on macOS, allowing users to navigate and manage files, applications, and network connections. It acts as a central hub for accessing all types of data on your Mac, including network resources.
Step 2: Navigate to 'Connect to Server'
In the Finder menu bar, click on "Go" and then select "Connect to Server" (or use the shortcut Command + K). This opens a dialog box where you can input the server address. The "Connect to Server" feature is specifically designed for establishing connections to remote servers, providing a seamless way to link to various network protocols.
Step 3: Enter Server Address
In the "Connect to Server" dialog box, enter the server address. This could be in various formats depending on the protocol:
-
SMB: For Windows file sharing, use
smb://server-addressSMB (Server Message Block) is commonly used for sharing files between Windows and other operating systems. -
AFP: For Apple Filing Protocol, use
afp://server-addressAFP is Apple's proprietary protocol for file services on macOS. -
FTP: For File Transfer Protocol, use
ftp://server-addressFTP is a standard network protocol used for transferring files.
Step 4: Authenticate
If prompted, enter your username and password. This authentication step is crucial for ensuring secure access to the server. Make sure to use the correct credentials provided by your network administrator. Authentication typically involves verifying your identity against the server’s user database to prevent unauthorized access.
Step 5: Access Server
Once connected, the server will appear in the Finder sidebar under "Shared." You can now access and manage files on the server as if they were on your local machine. This integration allows for drag-and-drop file management, direct editing, and the ability to use server files within macOS applications.
Using Recent Servers
For those who frequently reconnect to the same servers, using the "Recent Servers" feature can save significant time and effort. This feature remembers the servers you've connected to previously and allows you to quickly reconnect without re-entering server addresses or credentials.
Step 1: Access Recent Servers
Navigate to the Apple menu in the top-left corner of your screen, go to "Recent Items," and select "Recent Servers." This list provides quick access to the servers you have connected to recently, streamlining the process of finding and reconnecting to frequently used servers.
Step 2: Reconnect
Click on the desired server from the list to reconnect. This method bypasses the need to re-enter the server address or your login credentials, making it a more efficient option for regular server access. This is particularly useful in environments where you need to switch between multiple servers quickly or when managing repetitive tasks on the same server.
Using AppleScript
AppleScript provides a way to automate repetitive tasks on macOS, including connecting to servers. This method is particularly useful for IT professionals managing multiple servers, as it allows for quick and consistent connections without manual input each time.
Step 1: Open Script Editor
Launch the Script Editor from Applications > Utilities. Script Editor is the built-in development environment for AppleScript, offering a straightforward interface to write and test scripts.
Step 2: Create a New Script
Write an AppleScript to automate the server connection. Here is a basic example:
) Replace
Replace
smb://server-address
with your actual server address. This script uses the
mount volume
command to connect to the specified SMB server.
Step 3: Run the Script
Run the script by clicking the "Run" button in Script Editor. This will execute the commands in the script, automatically connecting you to the specified server. Ensure your network and server credentials are correctly set to avoid connection errors.
Step 4: Save and Automate
Save the script for future use by selecting File > Save. You can also set it to run at startup or on a schedule using Automator or launchd. Automator allows you to create workflows that include running your AppleScript, while launchd can schedule your script to run at specific intervals or system events.
Using Cyberduck
Cyberduck is a versatile third-party application that supports a wide range of protocols, including SFTP, FTP, and WebDAV. It offers a user-friendly interface and robust functionality, making it an excellent choice for IT professionals who need to manage various server connections.
Step 1: Download Cyberduck
Download and install Cyberduck from the official website (https://cyberduck.io/). Cyberduck is an open-source file transfer client that simplifies connecting to various types of servers. Ensure you download the version compatible with your macOS.
Step 2: Open Cyberduck
Launch Cyberduck and click on "Open Connection." This opens a dialog box for entering server details. Cyberduck’s interface is intuitive, allowing you to manage multiple connections easily.
Step 3: Enter Server Details
Input the server address, choose the appropriate protocol (such as SFTP, FTP, WebDAV, or others), and enter your credentials. Cyberduck supports numerous protocols, providing flexibility for different server types.
-
SFTP (Secure File Transfer Protocol): For secure file transfers, use
sftp://server-address. -
FTP (File Transfer Protocol): For standard file transfers, use
ftp://server-address. -
WebDAV: For web-based file management, use
http://server-addressorhttps://server-address.
Step 4: Connect
Click "Connect" to establish the connection. Once connected, you can manage files on the server through Cyberduck’s interface. The interface supports drag-and-drop functionality, bookmarking, and synchronisation features, making file management straightforward.
Using Remote Desktop Protocol (RDP)
Connecting to a server via Remote Desktop Protocol (RDP) allows for full remote desktop access, making it a powerful tool for IT professionals. RDP enables you to control a remote Windows server or computer as if you were physically present.
Step 1: Install Microsoft Remote Desktop
Download Microsoft Remote Desktop from the Apple App Store. This application enables remote desktop connections to Windows servers and computers, providing a secure and efficient way to manage remote systems.
Step 2: Configure the App
Open Microsoft Remote Desktop and grant any necessary permissions. During initial configuration, set up access permissions for your Mac, which may include granting access to the microphone and camera if required for remote work.
Step 3: Add a New Connection
Click on "Add PC" and enter the server's IP address, username, and password. This setup creates a new remote desktop profile. Be sure to specify any additional settings, such as display resolution, device redirection (printers, drives), and gateway configuration if connecting through a Remote Desktop Gateway.
Step 4: Connect to Remote Desktop
Double-click the server icon to initiate the connection. This opens a remote desktop session, giving you full control over the server. You can run applications, manage files, and perform administrative tasks as if you were using the local machine.
Step 5: Close the Session
To end the session, sign out from the remote desktop properly to ensure data integrity and security. It is crucial to log off correctly to prevent potential data loss and to ensure the session is properly closed.
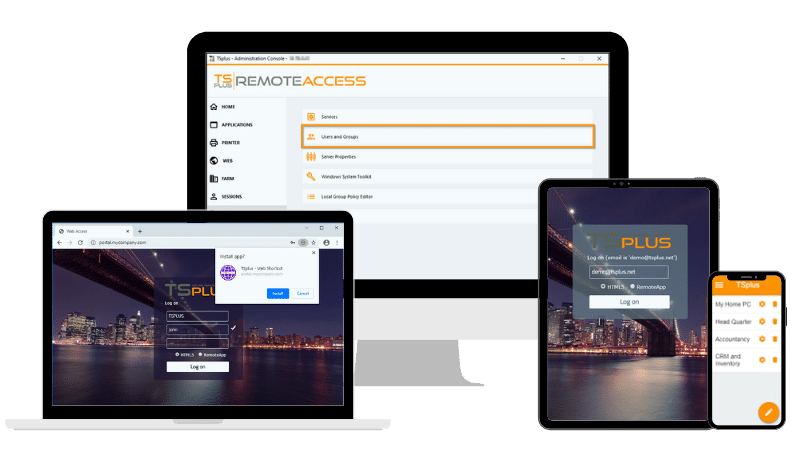
TSplus Solutions
For enhanced remote access and server management, consider using TSplus Remote Access TSplus offers robust, secure, and easy-to-use remote desktop solutions tailored for businesses and IT professionals. Optimize your remote work experience with TSplus today.
Conclusion
Connecting to a server on a Mac can be achieved through various methods, each suited to different needs and preferences. Whether using Finder for straightforward connections, AppleScript for automation, Cyberduck for diverse protocol support, or RDP for full remote access, macOS provides robust tools for IT professionals.
TSplus Remote Access Free Trial
Ultimate Citrix/RDS alternative for desktop/app access. Secure, cost-effective, on-premises/cloud
)
)
)